Getting Started With Hardware Wallets
How to Set Up Your Ledger Wallet: Step by Step Guide begins with understanding why hardware storage matters. Many crypto owners lose funds to online theft. A hardware wallet keeps your private keys offline. This move adds a strong layer of protection.
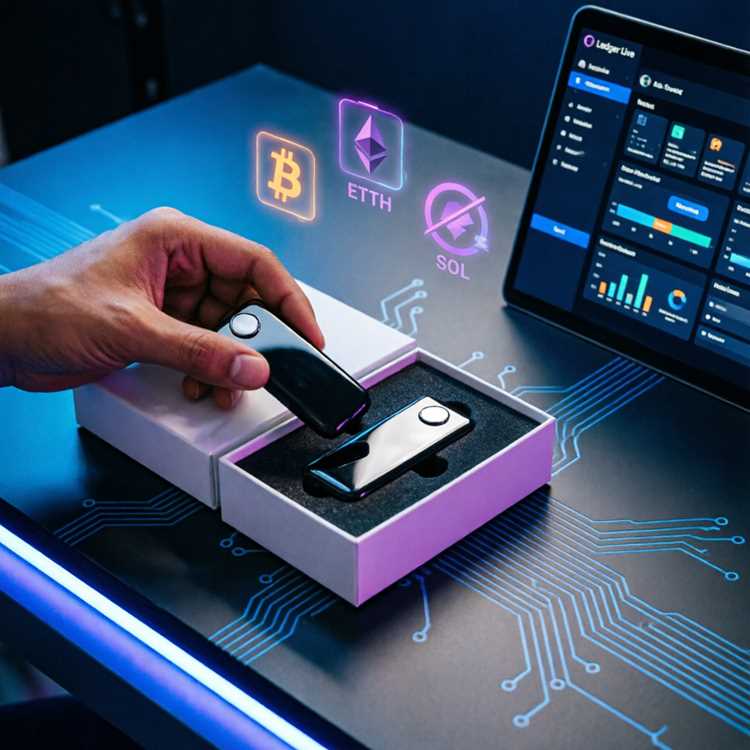
Ledger devices are small but powerful. They store Bitcoin, Ethereum, and thousands of other coins. Ledger simple setup takes less than twenty minutes. You do not need technical skills to finish it. This guide shows each action clearly.
First, check that you have the right model. Nano S Plus works for most users. Nano X adds Bluetooth for mobile use. Ledger Stax touchscreen offers a modern display. Pick the one that fits your habits.
Why Your Crypto Needs a Dedicated Device
Using a phone or computer for crypto creates risks. Malware can steal your keys. Exchanges can freeze your funds. A hardware wallet removes these threats. It signs transactions inside the device. Your private keys never touch the internet.
Every Ledger wallet setup follows the same security model. The device generates a seed phrase offline. This phrase is the master key to your assets. Losing it means losing access forever. That is why backup is critical.
Hardware wallets also support multiple blockchains. You can manage Bitcoin, Ethereum, Solana, and more from one device. Best Bluetooth hardware wallet options let you sign transactions on the go. This flexibility makes Ledger a top choice.
Security Benefits Over Software Wallets
Software wallets store keys on your hard drive. Hackers can exploit vulnerabilities in your operating system. Hardware wallets isolate keys in a secure chip. Even if your computer is infected, your funds stay safe.
Supported Coins and Networks
Ledger supports over 5,500 coins and tokens. Popular networks include Bitcoin, Ethereum, Polygon, and Avalanche. You install specific apps for each blockchain. The device memory holds up to 100 apps on newer models.
Unboxing Your Ledger Nano: What Comes Inside
Open the box and find the device, a USB cable, and recovery sheets. The sheets are for writing your seed phrase. Never use digital tools to store it. Keep the sheets in a safe place.
Each Ledger model includes different accessories. The table below shows what you get.
| Accessory | Price (included) | Compatibility | Use Case |
|---|---|---|---|
| Ledger Nano S Plus device | $79 | USB C, desktop only | Basic cold storage |
| Ledger Nano X device | $149 | USB C, Bluetooth, mobile | Mobile transactions |
| Ledger Stax device | $279 | USB C, Bluetooth, E ink | Premium touchscreen use |
| USB C cable | Included | All models | Charging and connection |
| Recovery sheets (3x) | Included | All models | Seed phrase backup |
| Keychain strap | Included | Nano X and Stax | Portable carrying |
Verifying Authenticity
Check the security seal on the box. It should be intact and unbroken. Ledger ships devices with a tamper evident sticker. If the sticker is damaged, do not use the device. Contact Ledger customer support immediately.
What You Need to Start
Gather your computer or phone, the cable, and the recovery sheets. Install the Ledger Live app on your desktop or mobile. Visit the official Ledger website to download it. Never use third party links for software.
Downloading and Installing Ledger Live
Ledger Live is the software that manages your device. It runs on Windows, Mac, Linux, iOS, and Android. Download it from the official Ledger website. Verify the file checksum after downloading to ensure its integrity.
After installation, open the app. It asks you to choose a new device or recover an existing one. Select "Initialize a new device" for first time use. The app guides you through the remaining steps.
During Ledger initialization, the app prompts you to connect your device. Plug in the USB cable to your computer. Press both buttons on the device to confirm the connection. The screen shows "Welcome" and asks you to choose a PIN.
System Requirements
Desktop users need Windows 10 or later, macOS 12 or later, or a recent Linux distribution. Mobile users need iOS 14 or Android 8 and up. Ensure your device has enough storage for the Ledger Live app.
Updating Firmware Before Use
New devices may have outdated firmware. Ledger Live checks for updates automatically. Follow the on screen prompts to install the latest version. Firmware updates add security patches and new features.
Connecting and Initializing Your Device
With Ledger Live open, connect your Ledger via USB. The device screen shows options. Press the right button to enter the menu. Select "Initialize" and confirm with both buttons.
How to set up Ledger Nano involves four main steps: PIN creation, seed generation, seed backup, and app installation. Each step must be completed in order. Skipping a step leaves your device unprotected.
Use the following numbered list for the connection process:
- Plug the USB cable into your computer and then into the Ledger.
- Press both buttons simultaneously when "Power On" appears.
- Choose "Initialize" from the menu using the right button.
- Confirm your choice by pressing both buttons.
- Wait for the device to generate cryptographic keys (about 30 seconds).
What Happens During Initialization
The device creates a pair of cryptographic keys. One key is public, one is private. The private key stays inside the secure chip. It never leaves the device. The public key is shared with Ledger Live for receiving crypto.
Common Connection Issues
Some computers need a driver update. If the device is not recognized, try a different USB port. Use the original cable that came with the device. Avoid using USB hubs or extenders.
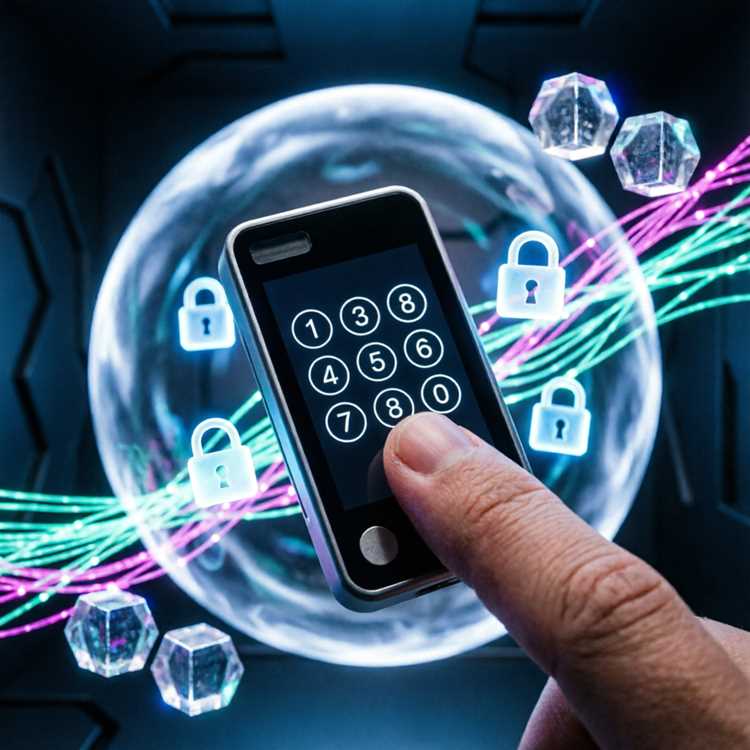
Setting Your PIN Code for Access
After initialization, the device asks for a PIN. This code must be 4 to 8 digits long. Choose a number you can remember but others cannot guess. Avoid common sequences like 1234 or 0000.
Enter your Ledger PIN code by pressing the left and right buttons. Left changes the digit. Right moves to the next digit. Confirm the PIN by entering it a second time. The device then proceeds to generate the seed phrase.
A wrong PIN entered three times in a row resets the device. Resetting erases all keys and apps. You can restore your funds only with your seed phrase. This feature protects against brute force attacks.
Choosing a Strong PIN
Do not use birthdays, addresses, or repeating patterns. Mix digits in a random way. Write down your PIN and store it separately from your seed phrase. Never store both in the same location.
PIN Recovery Options
There is no way to recover a forgotten PIN. The device offers no "forgot PIN" feature. If you forget it, you must reset the device and restore from the seed phrase. That is why backing up the seed phrase is essential.
Backing Up Your Seed Phrase Correctly
The seed phrase is a list of 24 words. It is the master backup for your wallet. Anyone with this phrase can access your funds. Protecting it is your highest priority.
Ledger seed phrase backup must be done offline. The device displays each word one by one. Write each word on the recovery sheet using a pen. Do not type it into a computer or phone. Digital copies can be stolen by malware.
After writing all 24 words, the device asks you to confirm several random ones. This verification ensures you wrote them correctly. If you make a mistake, start the backup process again.
Best Practices for Storing the Phrase
Store the recovery sheet in a fireproof safe. Keep it away from water, heat, and direct sunlight. Many users split the sheet into two parts and store them in separate locations. Do not take a photo of the phrase.
What Happens If You Lose the Phrase
Losing the seed phrase means losing permanent access to your crypto. No company, including Ledger, can recover it. Ledger trusted platform cannot bypass this security measure. Back up your phrase before transferring any funds.
Exploring Ledger Live: First Time Use

After setting up your PIN and seed phrase, open Ledger Live. The app shows a dashboard with your total portfolio. It is empty until you add accounts and assets.
For Ledger wallet first time use, start by adding an account. Click "Add Account" and select the cryptocurrency you want. The app asks you to open the corresponding app on your device. Confirm the action on the hardware wallet.
Ledger Live also shows transaction history, exchange rates, and fee estimates. You can send and receive crypto directly from the app. Every transaction requires physical button confirmation on the device.
Adding Multiple Accounts
You can add separate accounts for Bitcoin, Ethereum, and other coins. Each account has its own public address. Ledger Live keeps them organized in one view. This setup helps track individual holdings.
Using the Portfolio Tracker
The portfolio tab shows your total value in your chosen fiat currency. It updates prices in real time. You can see gains and losses for each asset. This feature is helpful for monitoring without exposing keys.
Installing Apps for Your Crypto Assets
Each blockchain needs a dedicated app on your device. Ledger Live manages these app installations. Click "Manager" in the app sidebar. The manager shows available apps for your device model.
Install the Bitcoin app first if you plan to store BTC. Then install Ethereum, Solana, or others. The device memory is limited. Nano S Plus holds up to 100 apps. Nano X holds a similar amount. Stax holds more due to larger storage.
After installing an app, open it on the device. The app displays "Application is ready". Now you can receive or send that cryptocurrency. Each app operates independently within the secure chip.
App Memory Management
If you run out of space, uninstall unused apps. You can reinstall them later without losing funds. Your accounts and balances are stored on the blockchain, not the device. The apps only contain the signing logic.
Third Party App Compatibility
Some blockchains offer third party wallets that connect to Ledger. Examples include MetaMask, Phantom, and Yoroi. These wallets use the Ledger device for signing. Install the corresponding app on the device first.
Security Tips for Long Term Storage
Cold storage means keeping your device offline most of the time. Only connect it when you need to sign a transaction. This practice reduces exposure to online threats.
Consider the disadvantages of Ledger before committing. The device can be lost or damaged. Without the seed phrase, recovery is impossible. Physical security matters as much as digital security.
Use a passphrase for added protection. A passphrase is an extra word you add to the seed phrase. It creates a hidden wallet. Even if someone finds your seed phrase, they cannot access the passphrase protected wallet. Write down both separately.
Regular Firmware Checks
Ledger releases firmware updates every few months. Check for updates in Ledger Live. Install them as they appear. Outdated firmware may contain vulnerabilities. Updates also add support for new coins.
Physical Device Security
Keep the device in a safe place when not in use. Do not leave it in a car or other exposed area. If traveling, carry it in your hand luggage. Check that the screen is not damaged before transactions.
Comparing Ledger Models for Your Needs
Choosing which Ledger model depends on your usage habits. Nano S Plus is the most affordable option. Nano X adds Bluetooth for mobile use. Stax offers a large touchscreen and more storage.
All models support the same security standards. The difference lies in convenience and portability. If you trade on a mobile device, Bluetooth is useful. If you only use a desktop, the Nano S Plus works well.
Check Ledger sale pages for bundle deals. Some packages include a protective case or extra cables. Buying directly from Ledger ensures authenticity and warranty support.
Battery Life and Charging
Nano S Plus has no battery and relies on USB power. Nano X has a built in battery lasting up to 8 hours of active use. Stax also has a rechargeable battery lasting several weeks in standby. Charge Nano X and Stax with the included USB cable.
Screen Size and Navigation
Nano S Plus has a small OLED screen. Nano X has a slightly larger screen. Stax features a 3.7 inch E ink touchscreen. Larger screens make navigation easier, especially for checking transaction details.
Frequently Asked Questions About Ledger Setup
How long does the full setup take?
Initial setup including PIN, seed phrase backup, and one app installation takes about 15 to 20 minutes. Adding more accounts takes additional time.
Can I use Ledger without a computer?
Nano X and Stax work with mobile devices via Bluetooth. Nano S Plus requires a computer with a USB port. All models need Ledger Live installed somewhere.
What happens if my device breaks?
Purchase a new Ledger device and restore it using your seed phrase. The funds are safe because they live on the blockchain. The seed phrase is the only recovery method.
Is it safe to buy a used device?
No. Used devices may have compromised firmware or pre generated keys. Always buy from the official Ledger website or authorized resellers. Reset any second hand device before using it.
Can I use one seed phrase on multiple devices?
Yes. You can restore the same seed phrase on several Ledger devices. This is useful for having a backup device in another location. Both devices control the same wallets.
Do I need internet access for setup?
Internet is required to download Ledger Live and install apps. The device itself does not connect to the internet. All signing happens offline on the hardware.